Meet the Dashboard
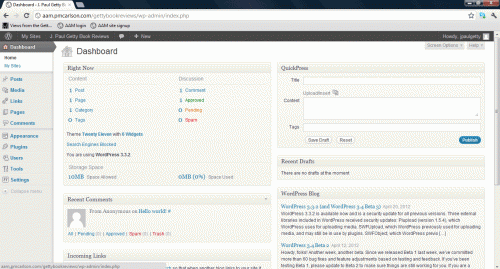
When you first log in to your site, it will take you to the Dashboard. This is where you will control most aspects of your site.
1. The name of your site appears in the top left. Over over it, and it’ll give you the option to visit the front-end of your site. Right-click on “Visit Site” and choose “Open in new tab”. See the components that make up this page.
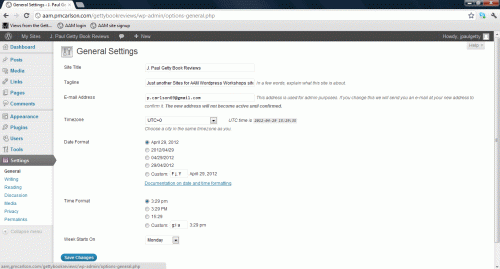
2. Hover over Settings at the bottom left of the menu, and click on “General”.
3. Note your site’s title (it should match what you chose when you created the site). Change the tagline to anything you want (or delete it entirely). Change the timezone. Save your changes. Go back to the tab with your site and refresh to see how it changed.
4. While still looking at your site, click on the title of the first post, “Hello world!” This is the post page. Look in the location bar and note the URL. See how it includes the year, month and date of the post in the URL.
5. Go back to your Dashboard and click on Permalinks (still under Settings). This is where you change the format of that URL.
6. Choose the “Custom Structure” radio button, and remove the month and day variables. This is what should remain:
/%year%/%postname%/
7. Save changes, then go back to your site and see how the URL changed.
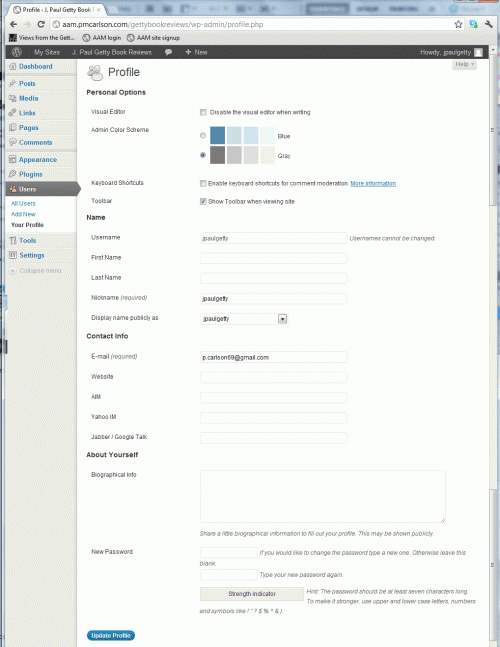
8. Hover over Users and click on “Your Profile”.
9. You can change your colors, your password, and add a short bio for yourself. For now, change your nickname, and save with “Update Profile”.
We’ll discuss some of the menus in more detail, but we can’t cover them all. Come back later to read summaries of the other menu items on the Dashboard. (Note: This page has not yet been updated for WordPress 3.3.2 menus.)


Leave a Comment
You must be logged in to post a comment.